Master the Art of Fluffy Danish Æbleskiver: Your Ultimate Homemade Guide
When the weekend calls for something extraordinary, or you simply crave a culinary adventure that promises warmth and comfort, look no further than the delightful world of Danish Æbleskiver. These aren't just any pancakes; they are fluffy, spherical puffs of joy, often described as miniature soufflés, that transform any breakfast or brunch into a festive occasion. My own journey into making these started with a simple curiosity, and I was instantly captivated by how a humble batter could yield such airy, golden perfection. If you're ready to elevate your breakfast game beyond the ordinary and embrace a cherished Danish tradition, join me in discovering the secrets to crafting the ultimate homemade Æbleskiver.
What Are Æbleskiver, Anyway? Unveiling the Danish Delight
At first glance, many might mistake them for regular pancakes, but Æbleskiver (pronounced *eb-ull-skee-wuhr*) are a unique culinary experience. Unlike their flat, disc-shaped American cousins or the thin, crepe-like
Danish Pandekager, Æbleskiver are distinctively spherical, cooked in a special pan with several half-sphere indentations. The name itself, meaning "apple slices," harks back to a time when they were often made with pieces of apple baked inside. Today, while apples remain a delicious option, the plain, puffy version is more common, ready to be filled or topped with an array of delectable accompaniments.
The magic of Æbleskiver lies in their texture: crispy on the outside, incredibly light and airy on the inside, almost melting in your mouth. This unique structure comes from a specific batter consistency and the way they are cooked, creating a truly unforgettable experience. They're a staple during festive seasons in Denmark, particularly Christmas, but their simple elegance makes them perfect for any day you wish to make special.
The Secret to Irresistibly Fluffy Danish Pancakes: Essential Ingredients
Crafting the perfect batch of fluffy Æbleskiver starts with understanding the role of each ingredient. While the list might seem straightforward, specific choices and preparation steps are key to achieving that coveted light-as-air texture.
*
All-Purpose Flour: This is the backbone of your Æbleskiver. Using all-purpose flour provides the ideal structure and texture. Resist the temptation to substitute with whole wheat flour (which can make them dense) or cake flour (which might make them too delicate to turn). The protein content in all-purpose flour strikes the perfect balance for fluffiness and stability.
*
Milk (or Buttermilk): Adds essential moisture and richness. For an extra tangy twist and an even more tender crumb, buttermilk is an excellent choice. The acidity in buttermilk reacts with the baking powder, boosting the rise and contributing to a wonderfully light texture. If you don't have buttermilk, you can easily make a substitute by adding a tablespoon of lemon juice or white vinegar to regular milk and letting it sit for 5-10 minutes.
*
Eggs: Crucial for binding the batter and creating that airy, puffy quality. For best results, use room temperature eggs. This helps them incorporate more smoothly and evenly into the batter, leading to a more consistent and fluffy end product. Separating the eggs and whipping the whites to soft peaks before gently folding them in is an advanced technique that can elevate the soufflé-like quality even further.
*
Melted Butter: Infuses your Æbleskiver with a rich, buttery flavor and adds to their tenderness. If you need a dairy-free option, an equal amount of neutral-flavored vegetable oil works well. Just ensure it's melted and slightly cooled before adding to the wet ingredients.
*
Sugar: A hint of sweetness balances the flavors beautifully. The amount can be adjusted to your preference, especially if you plan on adding very sweet toppings. It also contributes to the golden-brown crust.
*
Baking Powder: This is your primary leavening agent, responsible for those beautiful puffs. Always ensure your baking powder is fresh for optimal rise. A simple test: drop a teaspoon into hot water; if it bubbles vigorously, it's still active.
By paying attention to these core ingredients and their qualities, you're laying the foundation for truly spectacular homemade Danish pancakes.
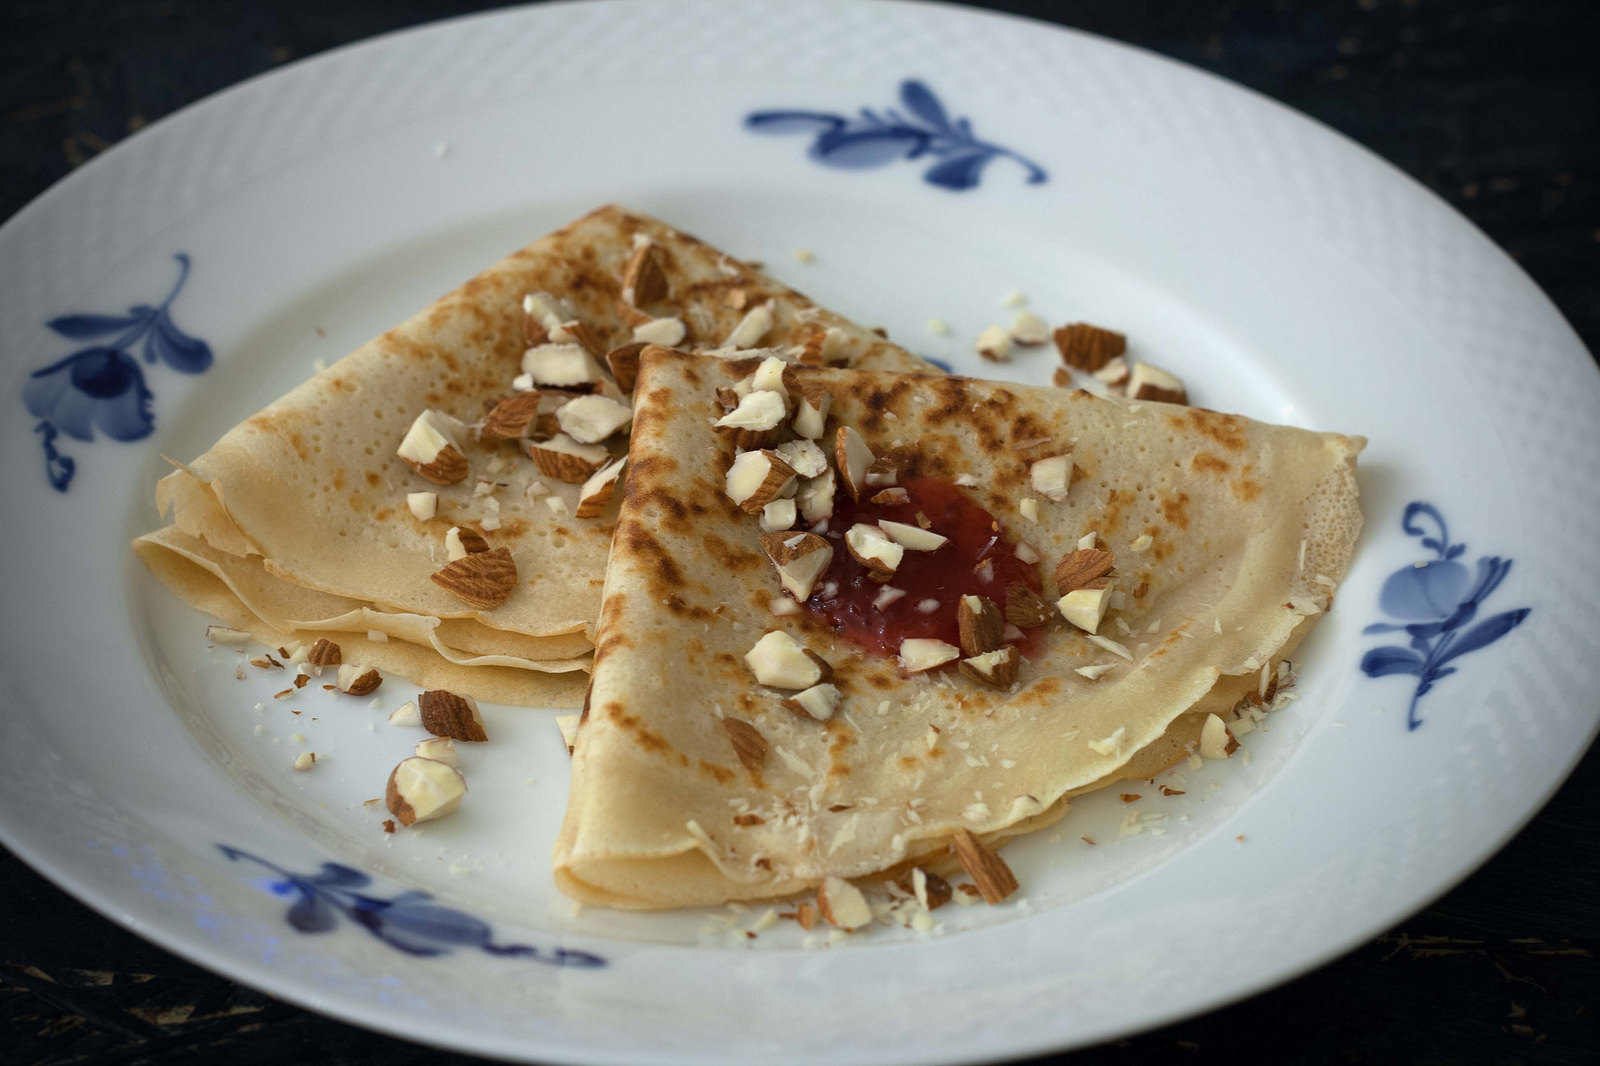
Beyond the Batter: Creative Fillings and Toppings for Your Æbleskiver
While Æbleskiver are delightful on their own, their true versatility shines through the endless possibilities of fillings and toppings. This is where you can truly personalize your Danish pancake experience and make every batch uniquely yours.
Inside the Puffs:
Many traditionalists enjoy plain Æbleskiver, but adding a little surprise inside can be incredibly rewarding.
*
Fruit Preserves: A spoonful of raspberry, strawberry, or lingonberry jam dropped into the batter as it sets is a classic. The jam warms and melts, creating a luscious burst of fruit flavor with every bite.
*
Chocolate: Mini chocolate chips or a small square of your favorite chocolate bar can melt into a gooey, rich center, perfect for a sweet tooth.
*
Fruit Pieces: Small dices of apple, pear, or even berries can be added, harking back to the original "apple slices" tradition.
*
Savory Surprises: While less common, a tiny cube of cheese (like Havarti or even cheddar) or a sprinkle of herbs and crumbled bacon can offer a surprising savory twist for adventurous palates. This could open up a whole new world of brunch possibilities!
Drizzled, Dolloped, and Dusted:
The final touch can transform your Æbleskiver from simple treats to an elegant dessert or a lavish brunch spread.
*
Powdered Sugar: A light dusting of confectioners' sugar is the most classic and simplest topping, adding a touch of sweetness and an elegant finish.
*
Maple Syrup or Honey: A generous drizzle of pure maple syrup or golden honey is a universally loved pairing that enhances the pancake's richness.
*
Whipped Cream: A dollop of freshly whipped cream takes indulgence to the next level, offering a cool, creamy contrast to the warm pancakes.
*
Fresh Berries: Strawberries, blueberries, raspberries, or a mix of seasonal berries add a fresh, fruity brightness and beautiful color.
*
Fruit Compotes: A warm fruit compote (berry, cherry, or apple) can be a more substantial and flavorful alternative to simple preserves.
For more inspiring ideas to truly make your Æbleskiver unforgettable, check out our guide on
Elevate Your Brunch: Creative Danish Pancake Fillings & Toppings.
Your Step-by-Step Guide to Fluffy Æbleskiver Perfection
Making Æbleskiver is an enjoyable process that requires a special pan and a little patience. Here's how to master it:
1.
Prepare the Dry Ingredients: In a large bowl, whisk together the all-purpose flour, baking powder, and sugar until thoroughly combined. This crucial step ensures that the leavening agent is evenly distributed, leading to uniform puffiness in every Danish pancake.
2.
Mix the Wet Ingredients: In a separate medium bowl, lightly beat the room temperature eggs. Gradually whisk in the milk (or buttermilk) and the melted butter until the mixture is smooth and well-combined. This creamy concoction will be the rich liquid foundation for your batter.
3.
Combine Wet and Dry: Pour the wet mixture into the dry ingredients. Stir gently with a whisk or spatula until just combined. A few small lumps are perfectly fine and even desirable; *do not overmix*! Overmixing develops the gluten in the flour too much, resulting in tough, dense Æbleskiver rather than the desired airy, fluffy texture. Aim for a smooth, pourable batter.
4.
Heat the Æbleskiver Pan: Place your special Æbleskiver pan over medium heat. It's essential to let it heat up properly. Once warm, lightly grease each well with butter or a neutral oil. A pastry brush or even a folded paper towel works well for this.
5.
Pour the Batter: Pour about 2-3 tablespoons of batter into each well, filling it approximately two-thirds of the way. If you're adding fillings, now is the time to drop a spoonful of jam or a piece of chocolate into the center of each bubbling pancake.
6.
The First Turn: As the edges begin to set and small bubbles appear on the surface (like traditional pancakes), it's time for the first turn. Using a knitting needle, skewer, or even a small chopstick, carefully loosen the edges and gently rotate each Æbleskiver about a quarter turn. This allows the uncooked batter to flow to the bottom of the well.
7.
Continue Turning and Cooking: Continue to cook, turning the Æbleskiver periodically (another quarter turn or so each time) until they form a complete sphere and are golden brown on all sides. This process usually takes about 5-7 minutes per batch. The continuous turning helps them cook evenly and become perfectly round.
8.
Serve Immediately: Once golden and puffed, remove the Æbleskiver from the pan and serve them warm with your favorite toppings.
Troubleshooting and Tips for Æbleskiver Success
Even seasoned cooks can encounter challenges. Here are some common issues and pro tips to ensure your Danish pancakes are always a success:
*
Sticking Æbleskiver: If your Æbleskiver are sticking, your pan might not be properly seasoned or greased. Ensure you're heating the pan sufficiently before adding batter and use enough butter or oil in each well. A well-maintained cast iron Æbleskiver pan builds up a natural non-stick surface over time.
*
Not Puffing Up: This can be due to old baking powder, overmixed batter, or not enough heat. Double-check your baking powder's freshness, be gentle with your batter, and ensure your pan is at a consistent medium heat.
*
Burning on the Outside, Raw on the Inside: This indicates the heat is too high. Reduce the flame and cook them more slowly. The goal is a gentle golden-brown crust and a fully cooked, fluffy interior.
*
Achieving the Perfect Sphere: Practice makes perfect! The turning technique is key. Don't rush it. The first turn is about getting the batter to flow; subsequent turns shape them. A good Æbleskiver needle or wooden skewer is your best friend here.
*
Make Ahead Tips: While best served fresh, you can prepare the dry and wet ingredients separately ahead of time and combine just before cooking. Cooked Æbleskiver can be gently reheated in an oven, though they may lose a little of their initial fluffiness.
Embrace the process, and soon you'll be turning out perfect, fluffy Danish pancakes like a pro.
In conclusion, making homemade Danish Æbleskiver is more than just cooking; it's an experience that brings a touch of Danish tradition and culinary artistry into your kitchen. From the careful selection of ingredients to the mindful turning in the special pan, each step contributes to creating these irresistibly light and buttery puffs. Whether you're customizing them with sweet fruit preserves, rich chocolate, or simply dusting them with powdered sugar, these delightful pancakes are a wonderful way to celebrate family, friends, and the simple joy of a truly special breakfast. So grab your Æbleskiver pan, gather your ingredients, and prepare to master the art of these cherished Danish treats!